Latest version: AI CC 2025
First you need to download eCut for AI, which can be downloaded by visiting download page where you can find STARTER, NESTING, CNC and PLOTTER packs. Then you need to extract the compressed files and place them wherever you want.
Open folder with extracted files, and you'll see only one '.EXE' file - this is installer. Launch it!

Select your Adobe Illustrator version and finish installation.
To add eCut menu to Adobe Illustrator there is two ways
Open C:\eCut\AI_Plugin\CSxx folder.
Copy eCutCSxx.aip file to Adobe Illustrator plugin folder: C:\Program files\Adobe\Adobe Illustrator CSxx\Plug-ins
(xx - this is AI version - 5 or 6)
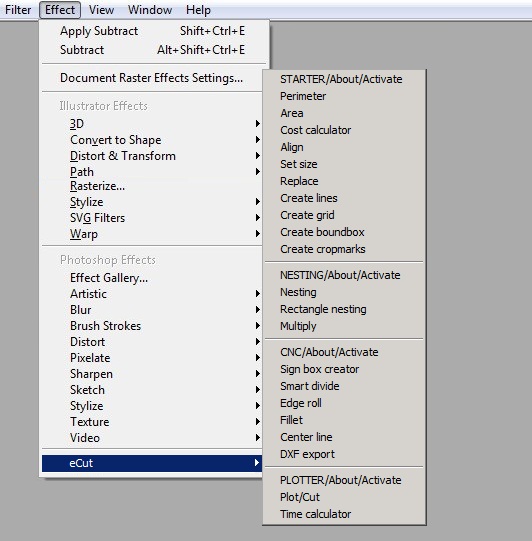
Now restart Adobe Illustrator and check eCut feauters in Effects menu:
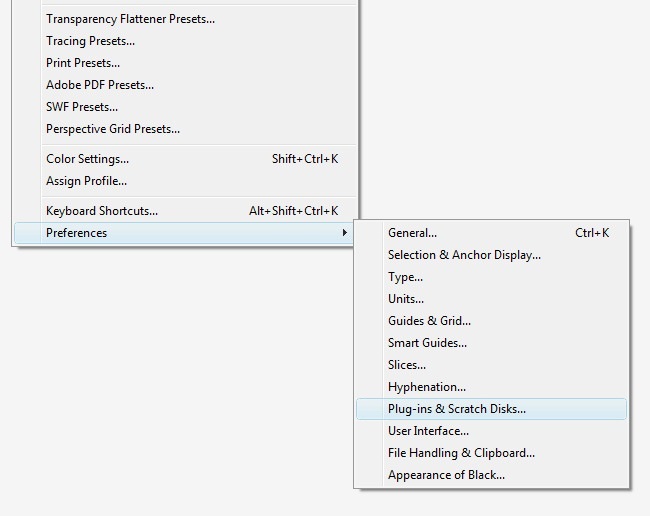
Start your Illustrator and go to Edit>Preferences>Plug-ins and Scratch Disks.
On the next window you need to check the “additional plug-ins folder” option and look for the root where the plugin is: C:\eCut\AI_Plugin\CSxx (xx - this is AI version - 5 or 6)
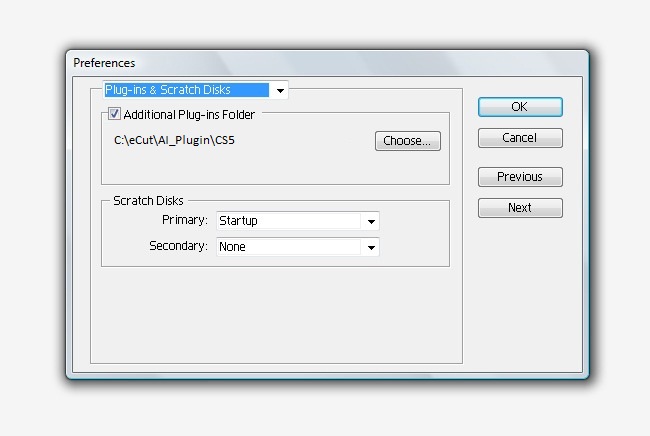
Restart your Illustrator and now you will find eCut features at the Effects menu.
Other projects: eCut for CorelDRAW, rStones for CorelDRAW, AI nesting
Copyright © 2007 eCut.